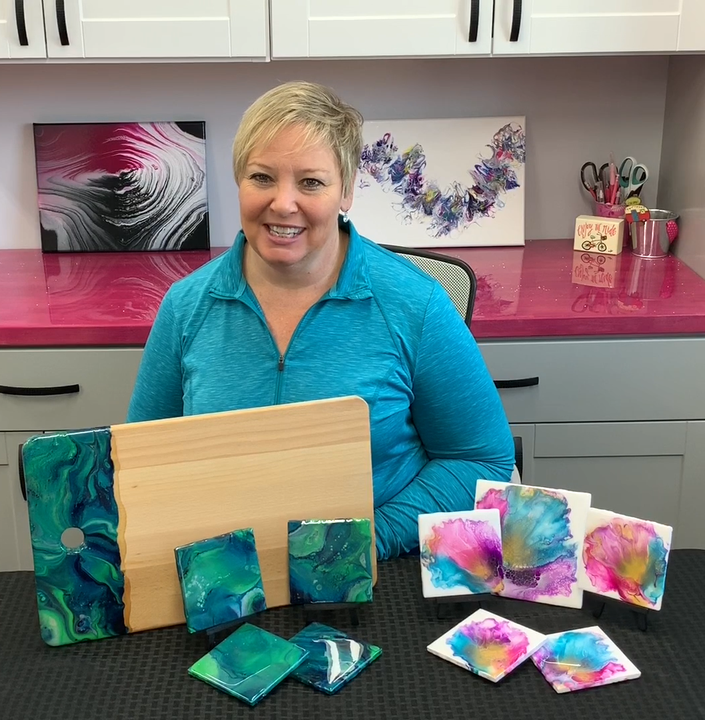
Learn to Make Acrylic Poured Heat Proof Coasters and Hot Plate Plus Cutting Board
In this course we’ll cover two projects that are both useful and beautiful, which I think is the best kind of DIY gift to give.
These are projects I see questions about often in the Acrylic Pouring group, especially about what resin to use to make your project heat resistant. Well in the supplies section I've recommended a resin that works great for up to 500 degrees Fahrenheit and won't stick to dishes.
I also see some common mistakes people make when trying to create these types of projects that will be avoided by using this course.
Common Mistakes You'll Avoid:
- Using the wrong paint consistency for dutch pours leading to muddy or chunky looking pours
- Mixing wrong medium formula that eventually cracks as it dries
- Trouble with dutch pour technique that doesn't create that light ribbon look
- Hot plate not heat resistant and sticking to your dishes
I created this course so that anyone at any level could create an awesome looking gift even if they haven't poured anything in their life! I've made both these projects many times and have outlined the simple step by step process and it will work for you too!
Check out the projects below!
Project One: Matching Heat Resistant Coasters and Trivet (Hot Plate)

I’ll teach you how to use the dutch pour method to make these beautiful coasters and trivet. I’ve specifically laid out all the supplies you’ll need and you can use the exact same paints I do, or replace them with your own preference. In this lesson we’ll cover the following points:
- Tips on the right paint consistency for a dutch pour to get that light ribbon look
- How to get beautiful cells on this dutch pour without silicone
- How to do a dutch pour using a blow dryer
- How to use a straw to touch up your pour edges
- What resin to use to make sure your pieces are heat resistant up to 500 degrees Fahrenheit and is food safe
- How to mix resin and apply to your piece
- Finishing the back of your coasters and trivet with felt or cork
- Exact supplies you need and where to get them
- Material preparation steps
Project Two: Poured Cutting Board with Matching Coaster Set

In this project we use the flip cup technique to add a pour design to the top of a cutting board and create a matching coaster set. We'll go over all the following to make sure you have everything you need to make the perfect gift:
- Exact supplies you need and where to get them, including the cutting board
- How to prep the front and back of your board
- How I layer paints in the flip cups
- What to do if paint bleeds under your painters tape
- Using resin to finish your cutting board
As part of this course you'll receive access to the following:
- Over 50 minutes of step by step video instruction showing you exactly what to do at each stage
- Supplies pdf with links to the supplies in the US (you can replace any of these supplies with those from your own country)
- Pouring Medium formula - my exact formula for pouring medium that works perfectly for these projects
- Support for you and your project - just ask questions in the comments on any video and I'll respond to make sure everything is understood
Your Instructor

Hi! I'm Kriss Danielson, I started acrylic paint pouring almost 2 years ago. I had seen a video on Facebook and fell in love! I started to watch tons of You Tube videos and surfing the net to learn as much as I possibly could about this amazing art form. I realized how much I loved to teach others about painting, so I started my own You Tube channel and have almost 23,000 subscribers and one of my paintings has had almost 1.4 million views! I'm passionate about creating one of a kind pieces with colors and designs that catch the eye and ignite the imagination!